
When building or maintaining a computer, one of the most important components to consider is the motherboard. It serves as the foundation of your PC—connecting all major parts like the CPU, GPU, RAM, and storage devices. But just like any hardware, it doesn’t last forever.
Understanding how long motherboards last helps you plan upgrades, prevent sudden failures, and ensure your system runs smoothly for years. In this article, we’ll explore the average lifespan of a motherboard, what factors influence it, and practical steps to extend its longevity.
What Is a Motherboard?
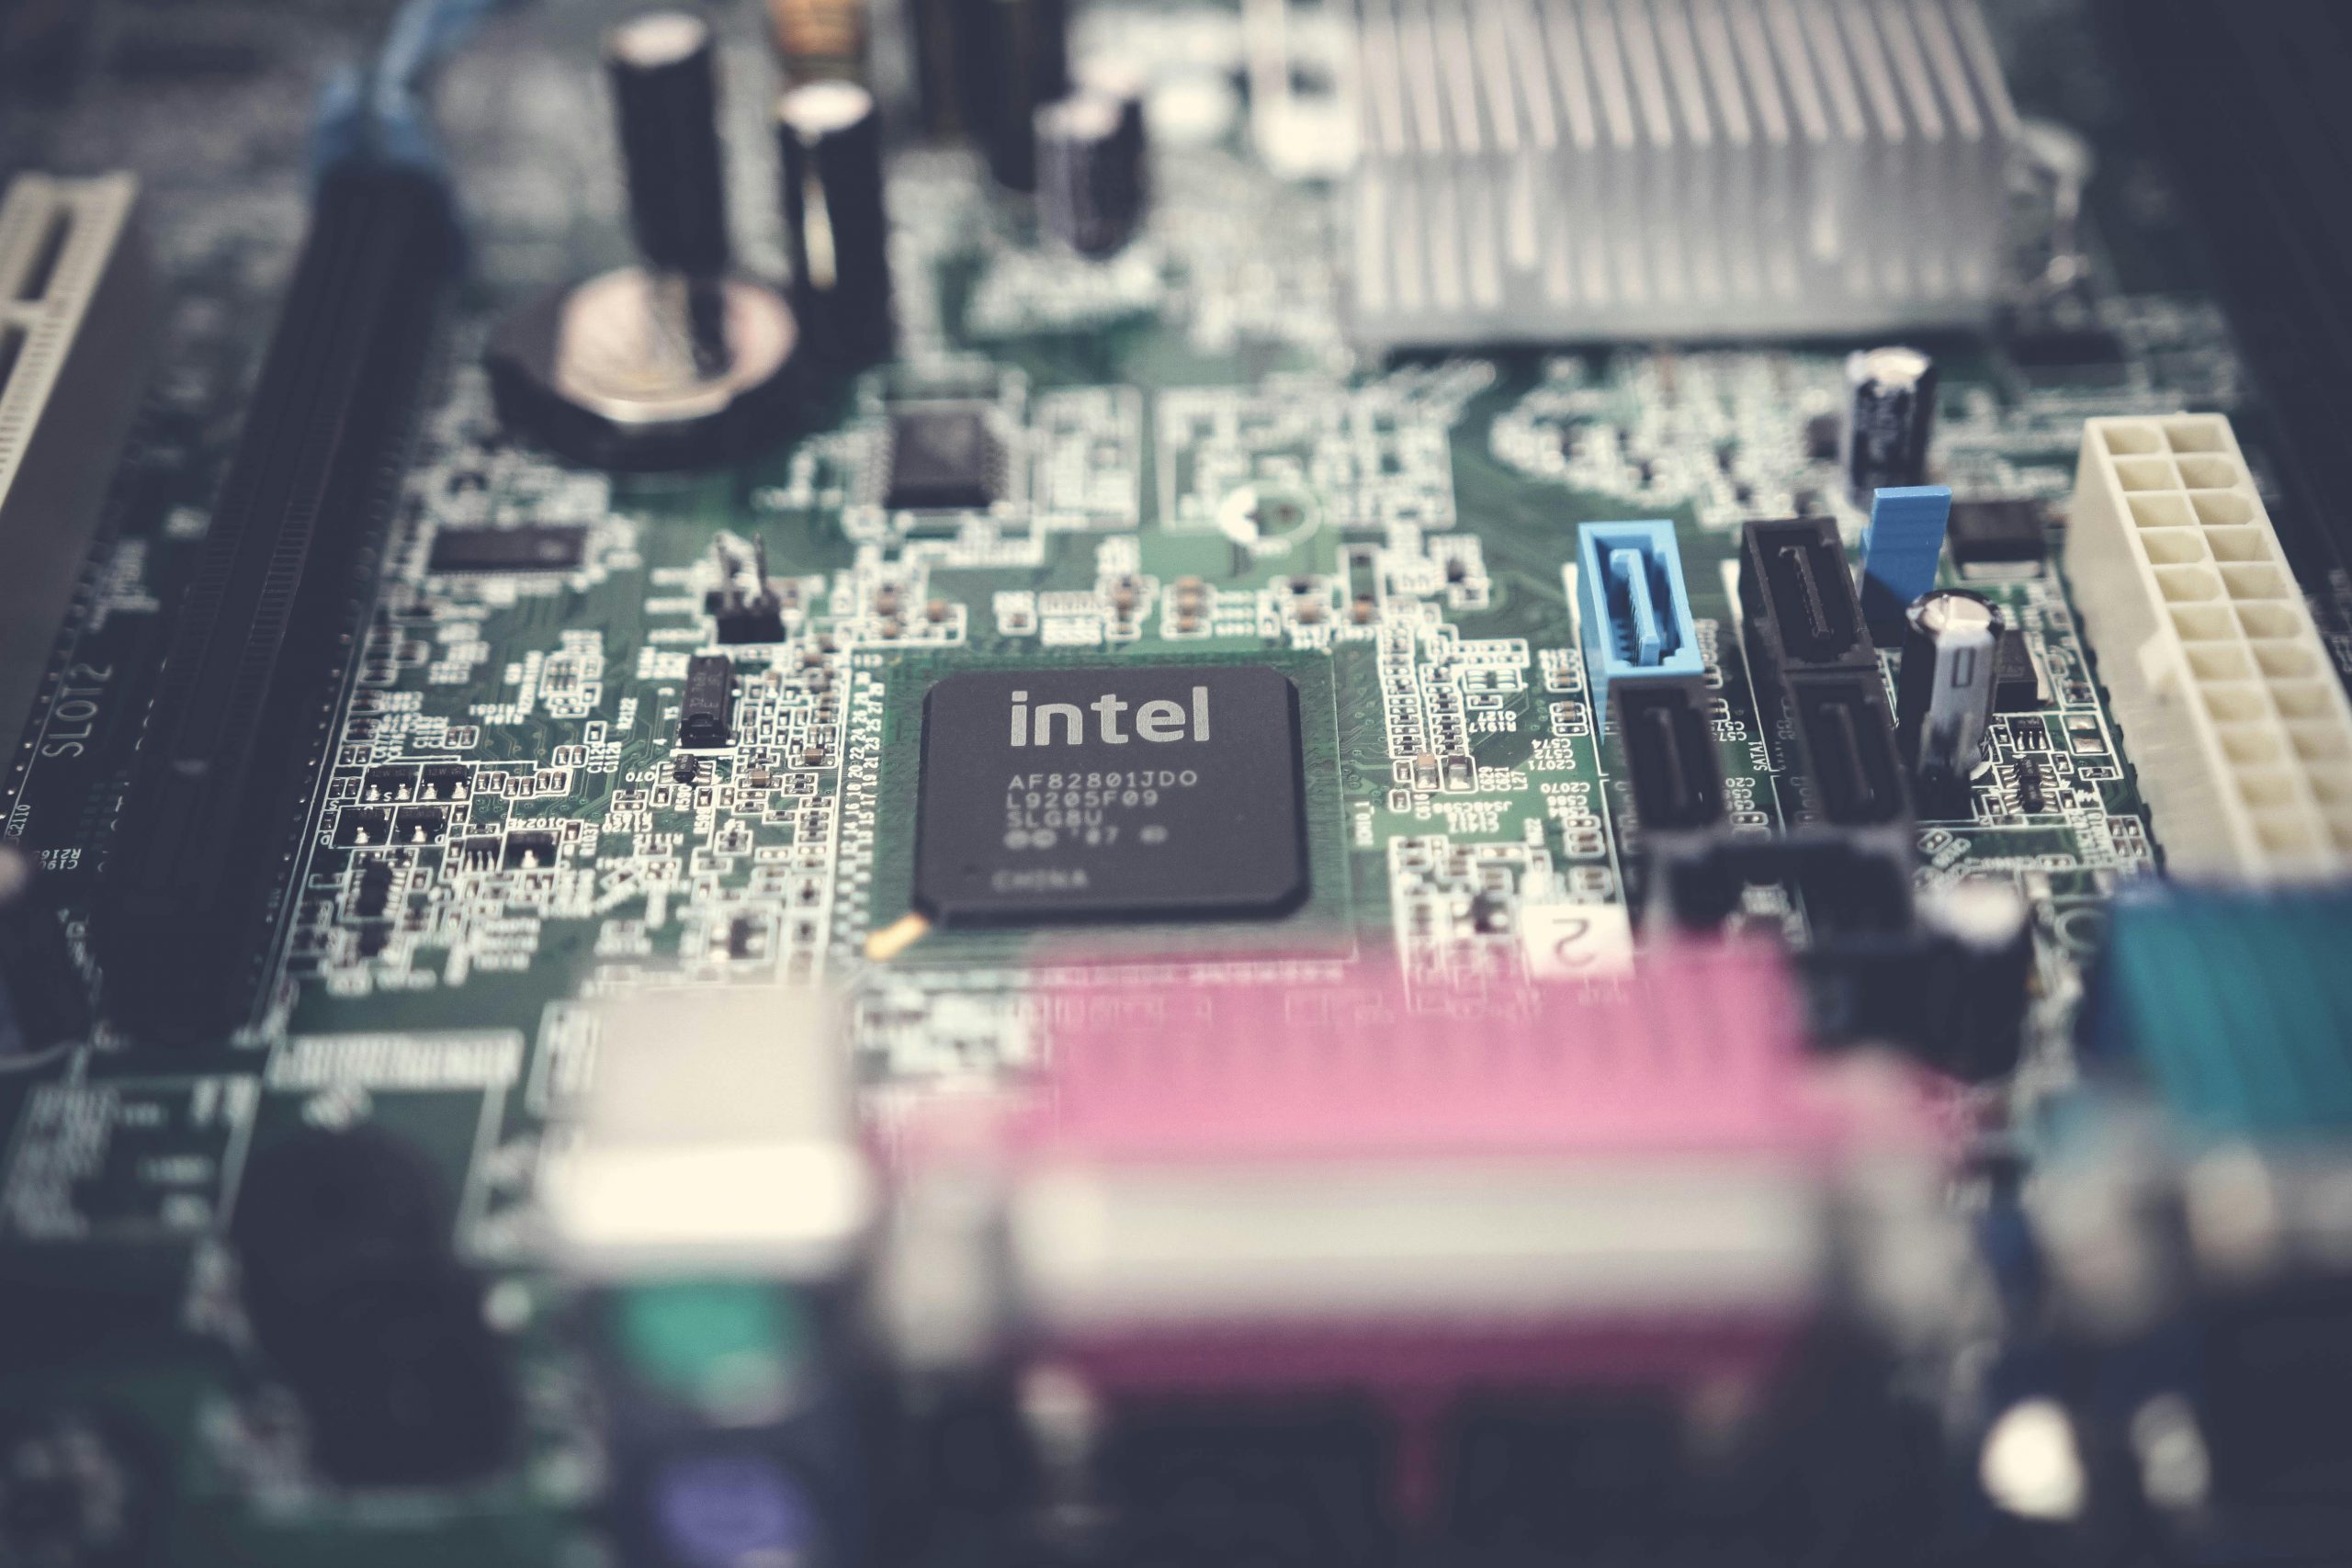
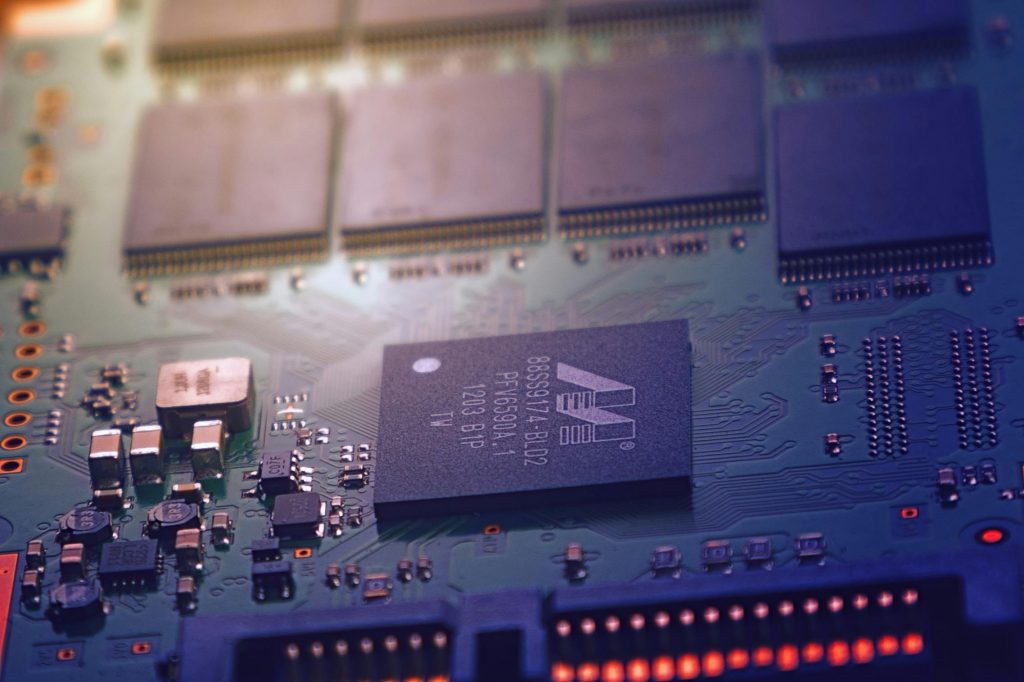
A motherboard is the main circuit board inside your computer that allows all other components to communicate. It houses connectors for the processor, memory, storage devices, expansion cards, and more.
It also distributes power, manages data transfer, and ensures the operating system and hardware work in sync. Because of its central role, when a motherboard starts failing, it can cause widespread issues across the entire PC.
Average Lifespan of a Motherboard
On average, motherboards last between 7 to 10 years—sometimes even longer with proper care. However, this range can vary depending on several factors such as build quality, usage habits, and environmental conditions.
Lifespan Breakdown:
- Entry-level motherboards: 3–5 years
- Mid-range models: 5–8 years
- High-end boards: 8–12 years (with good cooling and stable power)
Most users replace motherboards not because they fail, but because technology advances. New CPUs, faster RAM, and updated chipsets often require newer boards.
Signs Your Motherboard Might Be Failing
Recognizing early signs of motherboard issues can save your data and prevent damage to other components.
Common Symptoms:
- Frequent system crashes or freezes
- Random reboots without warning
- Peripherals not working (USB, sound, or display issues)
- Unresponsive BIOS or failure to boot
- Burning smell or visible damage on the board
If you notice these symptoms, test your power supply, memory, and CPU first. If they work fine, your motherboard may be the culprit.
Factors That Affect Motherboard Lifespan
Several factors determine how long a motherboard will last. Some you can control—others, not so much.
1. Quality of Components
Premium boards from reputable brands (ASUS, MSI, Gigabyte) use high-quality capacitors and voltage regulators, which last longer and handle heat better.
2. Power Supply Stability
Fluctuating voltage or low-quality power supplies can shorten motherboard life. Always invest in a reliable PSU with surge protection.
3. Temperature & Cooling
Excessive heat is one of the biggest threats to electronic components. Poor ventilation or dust buildup can cause overheating, reducing lifespan.
Tips:
- Keep your PC in a cool, well-ventilated area
- Clean dust filters and fans regularly
- Replace thermal paste every few years
4. Usage Intensity
Heavy gaming, overclocking, and prolonged workloads (like video editing or mining) can wear out the board faster than regular use.
5. Environmental Factors
High humidity, static electricity, and exposure to dust or smoke can corrode or damage circuits.
Tip: Use a surge protector or UPS and avoid placing your PC on the floor where it collects more dust.
How to Extend the Life of Your Motherboard
A little maintenance can make a big difference in how long your motherboard lasts. Whether you’re a casual computer user or a gaming enthusiast, following simple care practices can help your system perform better and avoid costly breakdowns. Below are detailed strategies to maximize your motherboard’s lifespan and keep your PC running smoothly for years.
1. Keep It Clean
Dust is one of the most common culprits behind motherboard damage. Over time, dust can clog vents, block airflow, and trap heat, leading to higher operating temperatures that stress components.
Tips for Cleaning:
- Use compressed air: Blow dust out of fans, vents, and crevices every two to three months. Hold the can upright and short-burst air to avoid moisture buildup.
- Avoid direct contact: Never wipe or touch the motherboard with your hands—static electricity or oil from your skin can cause damage.
- Clean your surroundings: Keep your PC in a low-dust area and avoid placing it directly on the floor where dust accumulates faster.
Bonus Tip: Installing dust filters on your case’s intake fans can reduce buildup and make cleaning easier in the long run.
2. Ensure Stable Power
Your motherboard relies on a steady, clean power supply. Voltage fluctuations, power surges, and outages can damage delicate circuits or shorten their lifespan.
Here’s how to protect your board:
- Use a reliable power supply unit (PSU): Choose one that meets your system’s wattage needs and carries certifications like 80 PLUS Bronze or higher for efficiency.
- Add surge protection: A surge protector or power strip with built-in protection shields your PC from electrical spikes caused by storms or unstable grids.
- Invest in a UPS (Uninterruptible Power Supply): A UPS provides backup power during outages, preventing sudden shutdowns that can corrupt files or harm hardware.
A high-quality PSU paired with a UPS can extend your motherboard’s life and provide peace of mind during unexpected power issues.
3. Avoid Excessive Overclocking
Overclocking can be tempting—especially for gamers or performance users—but pushing your CPU, GPU, or RAM beyond factory settings generates extra heat and electrical stress. While mild overclocking is safe with proper cooling, excessive overclocking can drastically reduce your motherboard’s lifespan.
Best Practices for Safe Overclocking:
- Use proper cooling: Upgrade to an efficient air or liquid cooler to handle the increased heat output.
- Monitor system stability: Use benchmarking and temperature tools to test performance and detect overheating early.
- Stay within safe voltage limits: Avoid setting voltage levels beyond recommended ranges—doing so can fry components over time.
If you don’t need the extra performance boost, it’s better to run components at their default settings to ensure longevity and stability.
4. Monitor Temperatures
Temperature control is key to keeping your motherboard healthy. Overheating can warp components, cause solder joints to fail, and lead to sudden system shutdowns.
How to Monitor Effectively:
- Use software tools: Applications like HWMonitor, MSI Afterburner, or Open Hardware Monitor allow you to track CPU, GPU, and motherboard temperatures in real-time.
- Set up fan curves: Adjust fan speeds in your BIOS or with fan control software to increase airflow when temperatures rise.
- Inspect your cooling setup: If temperatures frequently reach above 80°C (176°F), check that your case has proper ventilation and fans are working efficiently.
Additional Cooling Tips:
- Keep cables organized to prevent airflow blockage.
- Consider adding intake and exhaust fans for balanced air pressure.
- Replace old thermal paste on the CPU every few years to maintain heat transfer efficiency.
5. Regular BIOS Updates
The BIOS (Basic Input/Output System) controls communication between your hardware and operating system. Updating it occasionally can fix bugs, improve stability, and ensure compatibility with newer CPUs, GPUs, or RAM.
However, BIOS updates should be done cautiously—flashing a BIOS incorrectly can render your motherboard unusable.
Safe Update Practices:
- Check your manufacturer’s website: Only download BIOS updates directly from the official source.
- Read the release notes: Update only if there’s a clear benefit (e.g., bug fixes, security improvements, or hardware support).
- Follow the instructions carefully: Some updates can be done through Windows, while others require a USB drive and BIOS interface.
If your system is stable and performing well, unnecessary BIOS updates may not be worth the risk. Always proceed with caution.
6. Manage Environmental Conditions
Motherboards are sensitive to environmental factors such as humidity, dust, and static electricity. Keeping your setup in the right environment protects components from long-term wear.
Environment Tips:
- Maintain room humidity between 30% and 50% to prevent corrosion.
- Avoid exposing your PC to direct sunlight or extreme temperatures.
- Use an anti-static mat when handling internal parts to prevent electrostatic discharge (ESD).
Even small measures, like keeping your computer on a desk rather than the floor, can make a noticeable difference in lifespan.
7. Use Quality Components
The motherboard works best when paired with high-quality, compatible hardware. Cheap or mismatched components can strain circuits and cause instability.
Choose Wisely:
- Use compatible RAM and CPUs recommended by the manufacturer.
- Avoid off-brand power cables or connectors that might deliver unstable current.
- Stick to reliable brands known for durable capacitors and voltage regulators.
The higher initial investment in quality hardware often pays off through longer-lasting, trouble-free performance.
8. Schedule Routine Maintenance
Just like a car, your PC benefits from routine checkups. Set aside time every few months to inspect your system for dust, loose cables, and unusual noises.
Routine Tasks to Include:
- Tighten loose screws or connectors.
- Ensure fans spin freely without obstruction.
- Check for signs of corrosion, burnt smells, or damaged capacitors.
This kind of proactive maintenance helps catch potential issues early—before they lead to full system failure.
9. Avoid Frequent Hardware Swaps
Constantly removing or replacing components (like GPUs or RAM sticks) can wear out motherboard slots or cause accidental damage.
If you upgrade often, take precautions:
- Power off and unplug your system before touching any components.
- Ground yourself with an anti-static wrist strap to prevent electrostatic shock.
- Handle parts by the edges, not the pins or connectors.
Gentle handling ensures your board’s physical components stay intact for the long haul.
10. Back Up and Plan Ahead
Even the most well-maintained motherboards will eventually reach the end of their lifespan. Keeping regular backups of your important data ensures that if your motherboard does fail, you can recover quickly.
Smart Practices:
- Use an external hard drive or cloud storage for backups.
- Plan for upgrades every 7–10 years as technology evolves.
- Keep your old motherboard as a spare (if functional) for emergencies or testing.
When Should You Replace a Motherboard?
 Even the best-maintained boards eventually reach their limits. Here’s when replacement makes sense:
- Hardware Incompatibility: New CPUs or RAM types require newer chipsets.
- Frequent System Errors: Persistent issues even after replacing other parts.
- Physical Damage: Burn marks, broken ports, or swollen capacitors.
- Obsolete Features: Lack of USB 3.2, PCIe 5.0, or NVMe support.
If your system struggles to run modern software or components, an upgrade might save more time and money in the long run.
How Motherboards Compare to Other PC Components
To put things into perspective, here’s how a motherboard’s lifespan stacks up against other major parts:
| Component | Average Lifespan | Notes |
| CPU | 10–15 years | Usually outlasts most builds |
| GPU | 5–8 years | Heavily depends on gaming use |
| RAM | 8–12 years | Rarely fails |
| SSD/HDD | 5–10 years | Subject to wear or failure |
| Motherboard | 7–10 years | Central hub, prone to heat/power issues |
In most cases, the motherboard is replaced every two or three upgrade cycles as new CPUs and sockets become available.
Common Myths About Motherboard Longevity
Myth 1: Motherboards die after five years
Not necessarily. Many last over a decade if properly maintained.
Myth 2: Brand-new parts guarantee longer life
Quality matters more than age. A cheap new board may fail faster than a well-made used one.
Myth 3: Overclocking always kills motherboards
Moderate overclocking with proper cooling rarely causes harm. It’s extreme or unstable settings that pose risks.
Troubleshooting a Suspected Motherboard Failure
If your PC won’t boot or shows strange behavior, here’s how to narrow down the issue:
Step 1: Check the power supply — a faulty PSU mimics motherboard failure.
Step 2: Test RAM modules individually — bad memory can cause crashes.
Step 3: Look for beep codes or diagnostic LEDs — these often point to specific hardware errors.
Step 4: Inspect for burn marks, corrosion, or bulging capacitors.
Step 5: Try a CMOS reset — sometimes a BIOS glitch prevents startup.
If these steps don’t resolve the issue, the motherboard might indeed be at the end of its life.
Should You Repair or Replace a Motherboard?
Repairing a motherboard is rarely worth it unless it’s a simple fix like a loose capacitor or solder joint—and even then, it requires specialized tools.
For most users, replacement is the safer and more cost-effective option, especially since new boards often come with better support, efficiency, and features.
When upgrading, ensure compatibility with your CPU socket, RAM type, and form factor (ATX, Micro-ATX, Mini-ITX).
Environmental Impact of Old Motherboards
Motherboards contain metals and electronic waste materials that shouldn’t go into landfills.
When replacing your old board:
- Recycle it through certified e-waste centers.
- Sell or donate if still functional.
- Reuse components like fans, heatsinks, or RAM if compatible.
Final Thoughts
Motherboards are the backbone of every computer, and while they’re built to last, their longevity depends on maintenance, power stability, and environmental care.
On average, expect 7–10 years of solid performance from a quality motherboard—but with proper upkeep, it could serve you even longer.
Whether you’re upgrading for performance or replacing an aging component, understanding your motherboard’s lifespan ensures you make smarter, cost-effective decisions for your PC’s future.